
 Search Here
MISC
Parts List
Robot Forum
Chat
Member Pages
Axon MCU
Robot Books
Shop
Contact
SKILLS
How To Build
A Robot
Tutorial
Calculators
Mechanics
Programming
Miscellaneous
Robots
Space
HARDWARE
Actuators
Batteries
Electronics
Materials
Microcontrollers
Sensors
SCIENCE
Robot Journals
Robot Theory
Conferences
Sumo Robots
This robot has been designed for the DC Sumo Competition for January of 2007.
Unlike your typical sumo robot competition, the rules limit brute speed and strength.
By imposing speed limits on all robots, it eliminates the 'smash and bash' in exchange for
increased robotic intelligence and sensors use.
In the spirit of sumo, I named my robot Stampy.

Strategy
Never go into battle without a clever strategy. Stampy employs a clever strategy of
using the opponents force against itself. Instead of pushing back by a frontal collision,
it tries to wedge its ramp under just a single wheel of its opponent.
As the opponent robot continues to drive, it will start to tilt over. As this happens, Stampy changes direction and continues to push the opponent the rest of the way over. Its not about pushing the opposing robot out of the ring, but instead flipping it over. Just watch the video before continuing:
Algorithm
The algorithm takes data from a scanning Sharp IR Rangefinder,
and uses edge detection to decide where to drive. If no target is available, it would go into a search
mode and spin clockwise. Otherwise, it would attempt to drive towards the left side of the opposing robot.
This is the cheapest and simplest method for a robot to locate and follow other objects.
pseudocode:
-
//scanner code
if sharp IR detects object
scanning IR turns left
else //no object detected
scanning IR turns right
//robot motion code
if scanner is pointing far left
robot turns left
else if scanner is pointing far right
robot turns right
else //scanner pointing forward
robot drives straight
As shown, the scanner goes left if it sees a googly-eyed robot. If it doesnt detect it, the scanner turns right until it does. As a result, the scanner converges on the left edge of the googly-eyed robot:
The algorithm is guaranteed to converge on a stable point if the scanner locates the object from the left edge. But if the object is detected on the right edge, there is no convergence. This can potentially cause a problem:
The solution: if the sensor misses the object and rotates to the right to its maximum position, tell the scanner to reset its angle to the far left. There is also the solution of using two scanners so that there is a convergence on both the left and right edges of the object. But for the purposes of sumo I couldnt do this.
My commented sumo robot source code is available for download.
Stealth Technology
As your opponent robots get smarter, and start using sensors to detect your robot,
countermeasures need to be applied. Stampy employs three such stealth technologies.
IR/LED Defence
Two popular methods of robot sensors are infrared emitter/detectors
and photoresistors with reflective LED's.
To counter these sensors, you need to coat your robot in an IR/visible light absorbant paint.
Make sure the paint has a rough coat, as a shiny coat is more reflective. I used black acrylic paint,
but I didnt test it to see how well it works. Another popular sensor used is the
Sharp IR Rangefinder. This sensor is significantly more immune to
surface color, but it will still have some decreased accuracy.
Sonar
Sonar is the other popular method of sensing for
sumo robots. Sonar has two weaknesses - the 'softness' of the target, and the angle of the target.
Coat your robot in sound absorbing pointy shaped foam.
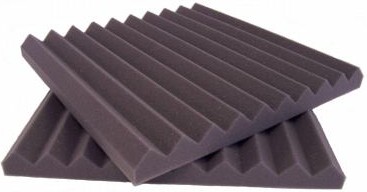
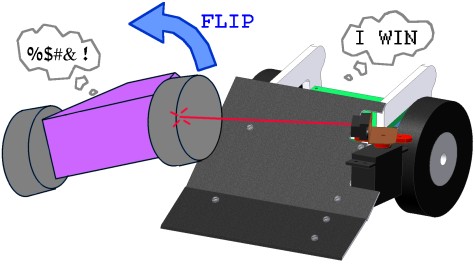
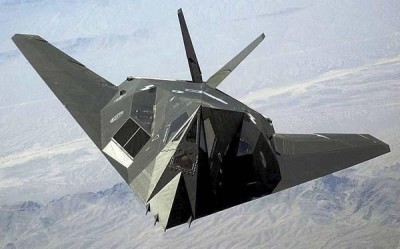
The other method is similar to stealth aircraft - use flat surfaces and sharp angles to deflect the sonar. I extended the ramp across the entire robot frontal area for sonar reflection, and use black foam wheels for light and sound absorption (plus, foam is good for traction). These methods will significantly decrease the detectable range of your robot.
Active Sensor Avoidance
Sensor avoidance is where your robot either sees or predicts where the enemy robot sensors
are directed, and then moves away from it. Stampy avoids at all times from being in front of the target robot,
and instead side swipes. A defence sensor avoidance would be to use a scanning sensor instead of a fixed one,
such as what Stampy employs.
Standing Up to Save Space
All sumo competitions have restrictive length and width limits, but rarely any restrictive
height limits. To make Stampy eligible for these other competitions (and just for
demonstration), it was designed to start off vertical, and flip itself down for attack mode.
By starting off in vertical mode, the length restriction is bypassed.
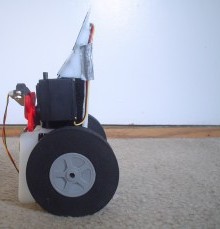
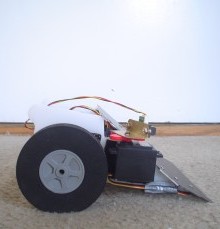
For a ramp based sumo robot, you want all the weight up at the front (to push the ramp down). So when in vertical position, all the weight is high up. To go to horizontal position, Stampy simply drives backwards for half a second.
Assembly
My very first step to building Stampy was to design it in CAD:
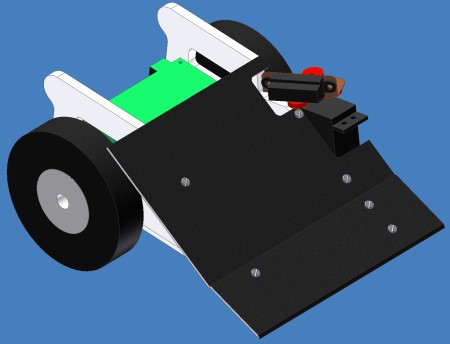
Feel free to explore the 3D CAD by clicking with your mouse:
You can download the CAD files for AutoDesk (2.2mb), or if you do not have AutoDesk, you can download the design drawings. You may also download the Stampy DWF.

My next step was to prepare my parts for CNC machining. Most of the parts are fairly simple and do not require CNC, but I wanted more practice at CNC and for it to look professional. I used EdgeCAM for CNC simulation and G-Code generation:

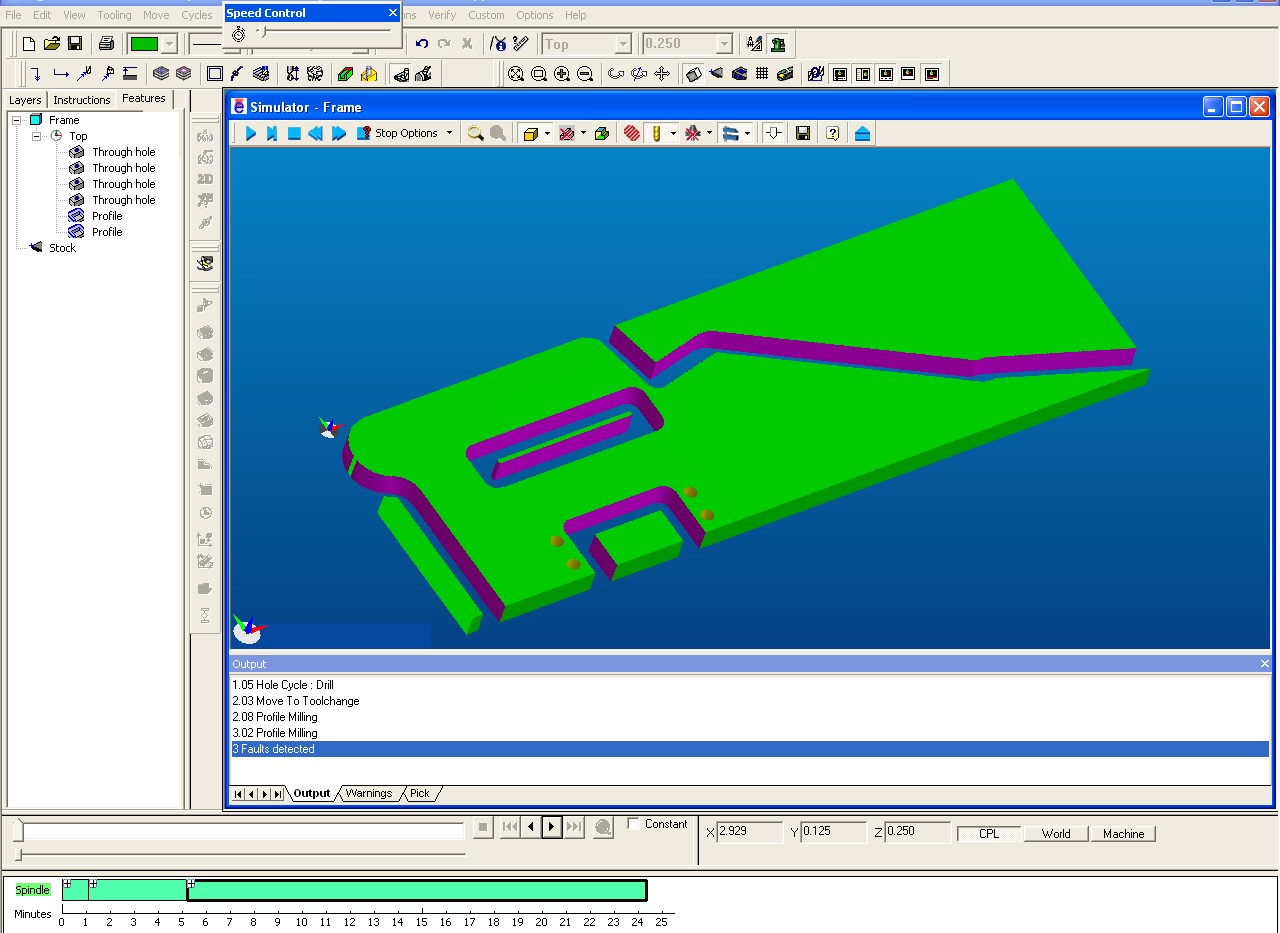
I have included the G-Code for both of those parts. It was written for the Haas Mill, but with minor modifications it would work on any CNC machine. Note that the part called Frame had additional holes drilled into it, and two fillets (located by the servo) removed with a mill bit, with a desktop drill press.
Materials used was what I had around, sheets of HDPE, aluminum, and copper.
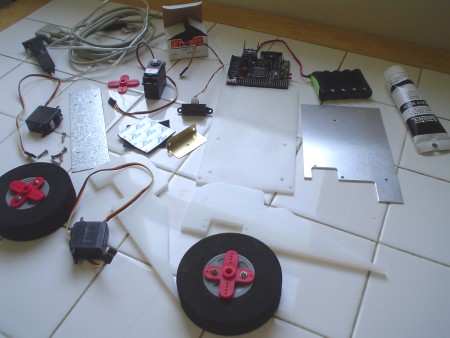
assembly images:
all of the parts disassembled
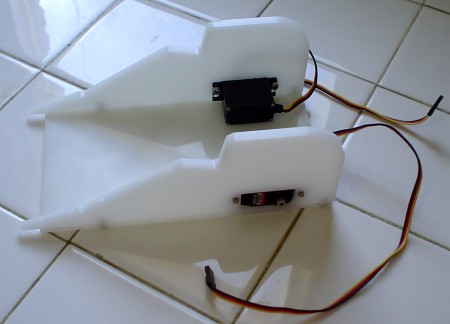
attached sides, bottom, and servos
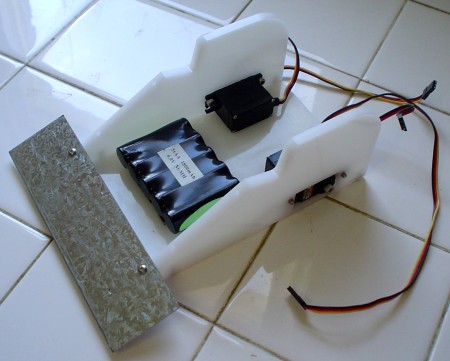
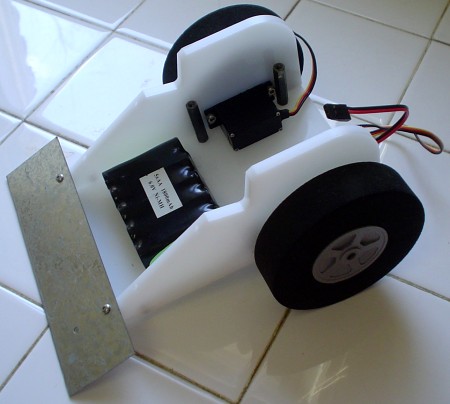
attached battery by velcro, and attached the lower ramp
screwed in wheels, and added spacers for electronics mount
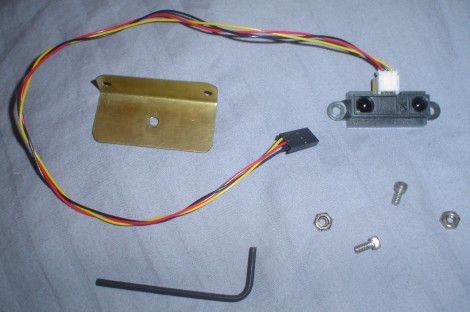
assembled scanner
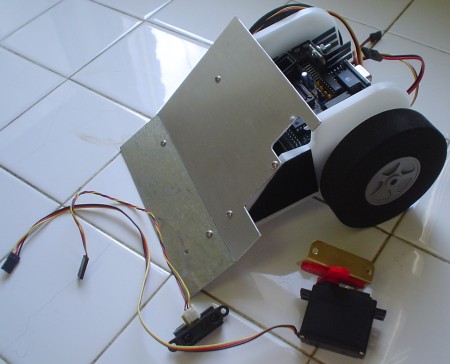
added upper ramp, attached electronics, attached velcro for scanner
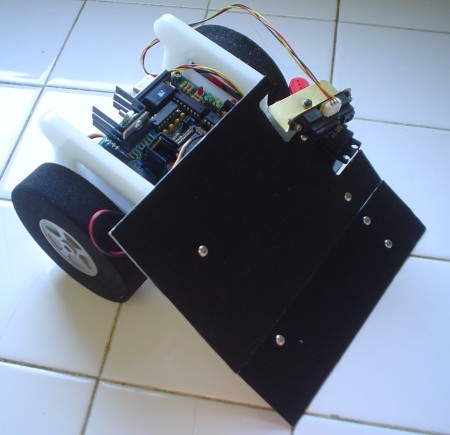
attached scanner, remachined the side Frame (there were errors), and painted ramp black with acrylic paint
Time Log
Total time required to create this robot was ~25 hours.
The meticuously recorded breakdown of hours:
time to CAD: 2 hours 40 minutes
programming: 4 hours 20 minutes
part machining: 4 hours
creating CNC g-code: 45 minutes
CNC: 2 hours 30 minutes
assembly: 1 hour 30 minutes
fixing mistakes: 4 hours (remachining and assembling Frame)
test programming: 3 hours 40 minutes
video filming: 1 hour
Additional notes on time:
Since I reused a lot of my CAD files, code, and parts from older robots, my
time log is a bit skewed. It probably saved me an additional 10+ hours of work.
Cost/List of Parts
As I already owned all parts that were used on this robot, I spent $0 to produce
the entire thing.
But if I were to go out and purchase parts, this would be the rundown:
Cerebellum Microcontroller: $60 (no longer sold)
HS-311 Servo: $10
Sharp IR: $15
HDPE, Aluminum, Copper Sheeting: $20
1800mAh 6V NiMH Battery: $13
2 Foam Wheels: $8
Spacers, screws, velcro: $10
Two HS-225MG Servos: $28 each
Acrylic paint: $5
Total: ~$197
Bonus Video!
Just for fun I decided to have a battle between the
$50 Dollar Robot (remote control mode, driven by me)
and Stampy. This shows autonomous robots kick bot! (ok sorry, really bad pun . . .)
Society of Robots copyright 2005-2014